Skip to content
 How to Register Your GST in India – Step-by-Step Guide
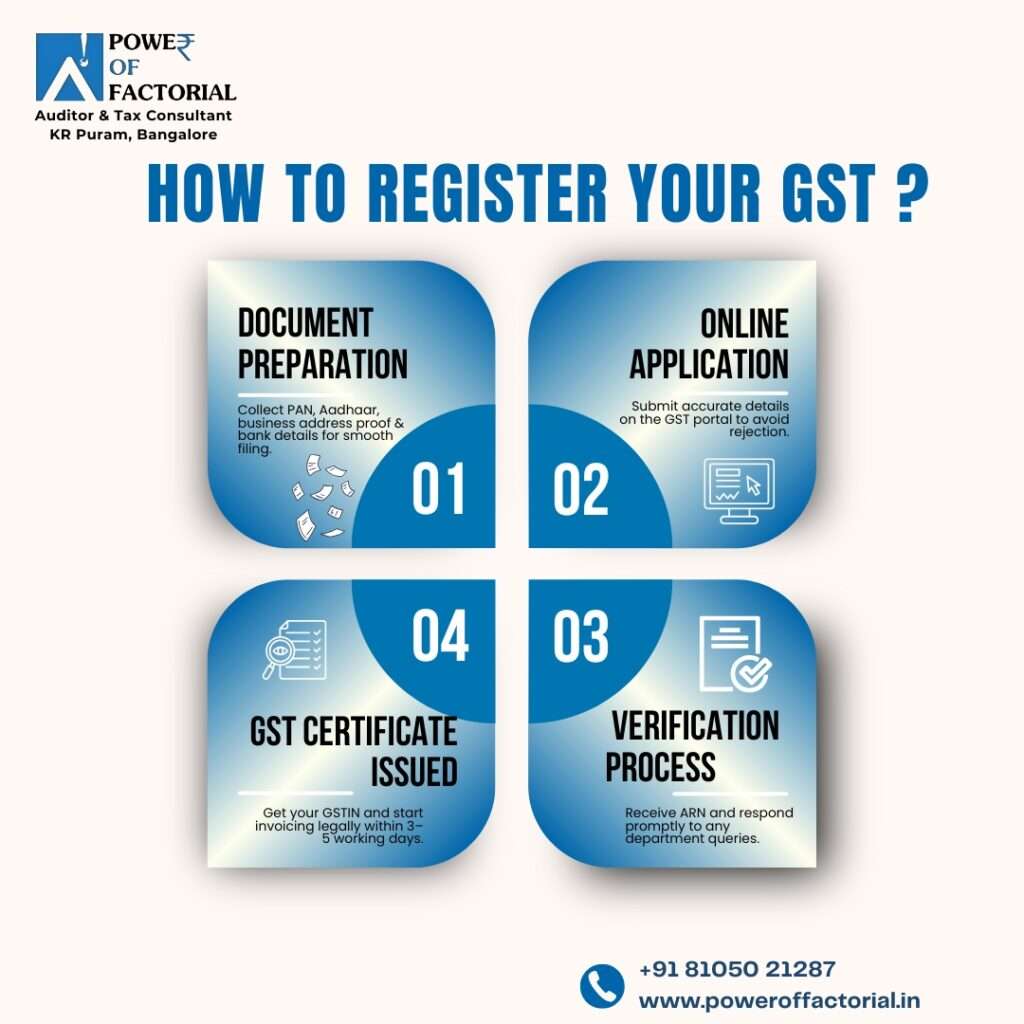
GST registration is mandatory for businesses with annual turnover exceeding ₹40 lakhs (₹20 lakhs for service providers). This simple guide will help you understand each stage of the GST registration process in India.
Step 1: Prepare the Required Documents
Keep these essential documents ready before applying for GST registration:
- PAN card of the business or applicant
- Proof of business registration or incorporation certificate
- Identity and address proof of promoters/directors with photographs
- Address proof of business place (electricity bill, rent agreement, etc.)
- Bank account statement or cancelled cheque
- Digital Signature Certificate (DSC) for authorized signatories
Step 2: Submit the GST Application Online
Visit the official GST portal and fill out the GST REG-01 form. Enter your business details, upload the required documents, and verify through OTP on your registered mobile number and email ID.
Step 3: Verification by GST Department
After submitting your application, the GST officer reviews your details and documents. If everything is correct, your application will be approved. If additional information is needed, you’ll be notified to provide clarification or additional documents.
Step 4: Receive Your GST Certificate
Once your registration is approved, you’ll receive a GST Registration Certificate containing your 15-digit GSTIN (Goods and Services Tax Identification Number). You can then start filing GST returns and collecting taxes as per GST regulations.
Registering for GST ensures your business remains legally compliant and eligible to claim input tax credits. If you need expert assistance, our team can handle the entire process smoothly and accurately.